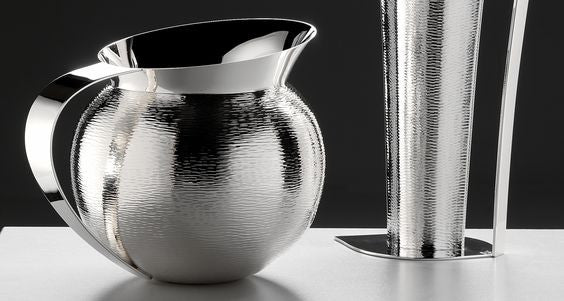

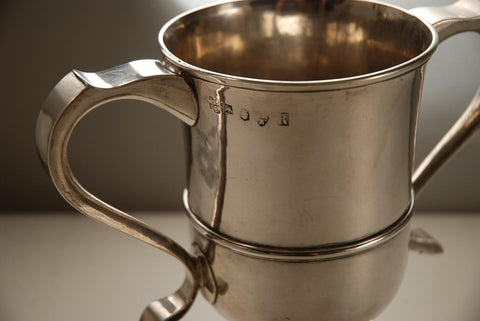
Warm greetings from Nephew&Nieces, we hope everyone is doing well. As some of our beloved customers have requested, we're doing a post about Silver today. Silver tarnish, as everyone knows, can make a beautiful jug or necklace look dirty and dull. We'll also be releasing a video guide on Youtube soon, so stay tuned.
How to identify Tarnish and differentiate it from 'Patina':
So.. How do we do it? To first know how to remove silver tarnish, we must first know how it forms.
How silver tarnish forms:
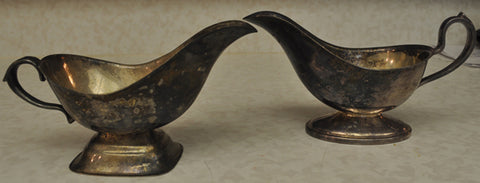
Tarnish forms when a chemical reaction occurs between your silverware and the moisture/sulfur in the air. Silver tarnish takes place at a faster rate in high humidity/polluted areas. Tarnish can happen when exposed to different chemicals like hair spray or perfume.
Knowing that, its just a matter of chemically reversing that process. For the geeks out there: Silver sulfide + Aluminium = Silver + Aluminium Sulfide.
How to remove silver tarnish:
Knowing the formula, all we need is a bit of aluminium foil right?? Correct! The recipe for tarnish removal is simple, the ingredients can be found in your home. A kettle, a roll of aluminium foil, baking soda , water and a container. Here are the steps:
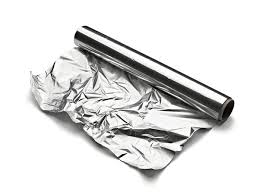
1) Set your aluminium foil over the container
2) Place down two scoops of baking soda into container
3) Pour boiling/hot water into container
4) Place silver piece into hot solution
5) Stir solution with silver inside
6) Magic!
Note: Make sure silver is in contact with aluminium foil
Most of the tarnish should have been erased, however, if there was a large build up to begin with, repeat the procedure a number of times.
Alternatively, if cleaning jewelry or something with heavy built up tarnish, try this:
1) 1/4 (one quater) cup of baking soda, 2 table spoons of water
2) Stir into thick paste
3) Apply solution on with sponge of cloth
4) Rinse and repeat
We do like the first method, it works a charm.
So.. what about preventing tarnish? Prevention is better than cure right?
Preventing tarnish on silver:
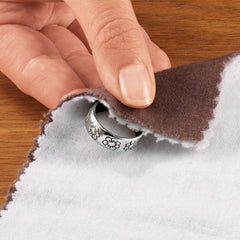
As we know, silver tarnish is caused by exposure to chemicals/moisture/sulfur in the air. So, storage of your silver jewelry in air tight containers does reduce exposure. Before storing, wipe your jewelry with a polishing cloth or soft dry cloth. For silverware, its alot easier, constant use helps to prevent tarnish. Removing tarnish only realistically is needed every few years if your silverware is in constant use. Dishwashing or even handwash reduces build up (Just don't scrub too hard).
Thank you for reading, do send leave us pictures of your cleaned silverware or comment on other methods for cleaning.
Stay tuned, we'll have a youtube guide video coming soon.
Warm regards,
Nephew&Nieces